SMT Assembly Quote online Free Shipping & Manufacturing
-
$29.80≥1 Piece/Pieces
- Min. Order:
- 1 Piece/Pieces
- Min. Order:
- 1 Piece/Pieces
- Transportation:
- Ocean, Land, Air, Express, Others
- Port:
- Solder mask color: Green, white, black, red, blue
Your message must be between 20 to 2000 characters
Contact Now| Supply Ability: | 10000pcs/day |
|---|---|
| Payment Type: | T/T,Paypal |
| Incoterm: | FOB,EXW |
| Transportation: | Ocean,Land,Air,Express,Others |
| Port: | Solder mask color: Green,white,black,red,blue |
How do I solder an IC chip on PCB?
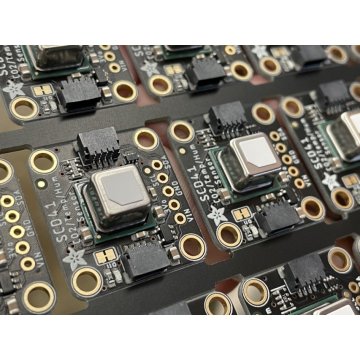
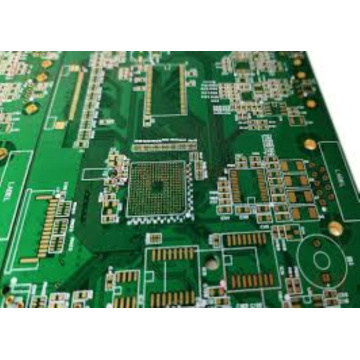
Among the hardware PCBs, the originality electronics IC is the most critical Electronic Components, which is as important as the human heart or the brain. Since the originality electronics IC is very small, it is usually very difficult to solder if it is not machine soldered. The editor above will introduce how to solder originality electronics IC in PCBA Manufacturing.
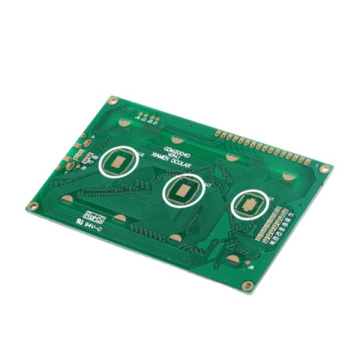
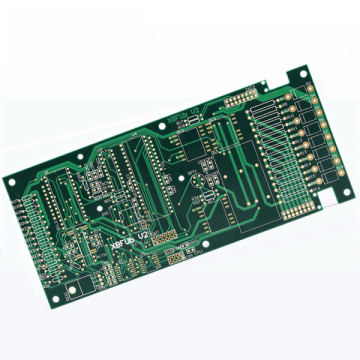
Rigidity electronics IC does not necessarily refer to single-chip microcomputers. The core parts such as power amplifiers and power management are all rigidity electronics ICs. Rigidity electronics ICs generally have two or four legs, as shown in the figure below. The welding method is the same whether it is two legs or four legs, but the four legs are more difficult.

After spreading the rosin, use an electric soldering iron to dip a little bit of solder, and then use a knife tip to quietly spread the solder evenly on the pads, so that the pads of each pin are glued with a layer of solder. Keep in mind here is a little bit, don't dip too much, or it will stick the pads of different feet together, and it will not be scratched.
Solder-on and un-bonded solder pads are different, and you can see the difference when looking at the light. Then take the difficult four-sided rigidity electronics IC as an example. After confirming that the solder is attached to the pad, align one leg of the rigidity electronics IC with the pad on one side, and each pin is aligned with its corresponding pad. At the same time, confirm that the upper and lower feet are also aligned on the corresponding pads, then the three sides are aligned, and the remaining side is also aligned.
6
After confirming that all four sides are aligned with the pads, use a knife-tip electric soldering iron to slightly press down on the pin that was aligned first, and press each pin on. After the electric soldering iron is released, the temperature drops due to the solder on the pad. Then, solder all the pins on this side. The same is true for the remaining three sides, welding on one side.

Related Keywords